Now you can add Google Custom Fonts to your Blogger titles and posts. Google fonts are available to everyone via the Google Fonts API. Follow these steps to add Google Fonts to your blog.

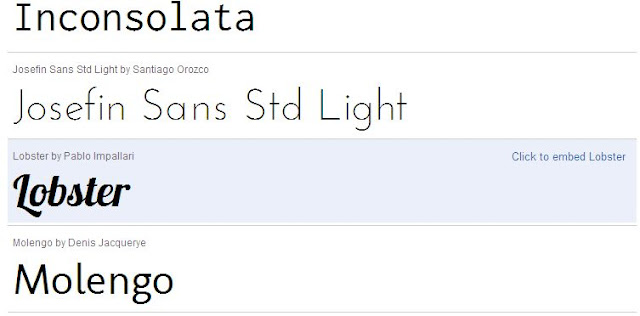
1. Go to the Google Fonts directory. You will find fonts like this:

2. Click the link next to the desired font 'Click to embed {Fontname}', where Fontname is the name of font of your choice.
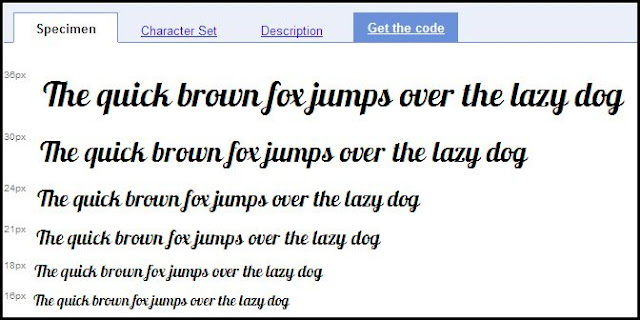
3. You will be taken to the next screen, like this:

4. Go to the 'Get the Code' tab. You will be given code for the specified font like this:

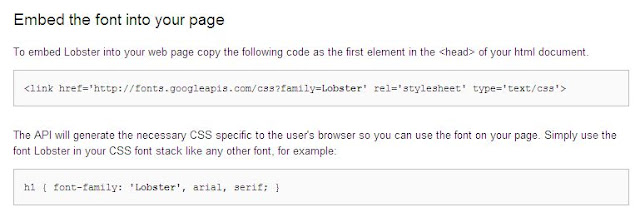
5. Copy the code, it will look like this, here I am using the 'Lobster' font.
6. Now go to Blogger > Design > Edit HTML tab. Search for </head> tag.
7. Paste the code from Google API above the </head> code.
8. This way you have inserted Google fonts in your blog. But still you have to define which portion of CSS uses the custom fonts.
This is done by defining styles for each element of the blog like header title, post title etc.
Here are the main CSS elements that you should know to define the fonts styling.

1. Go to the Google Fonts directory. You will find fonts like this:

2. Click the link next to the desired font 'Click to embed {Fontname}', where Fontname is the name of font of your choice.
3. You will be taken to the next screen, like this:

4. Go to the 'Get the Code' tab. You will be given code for the specified font like this:

5. Copy the code, it will look like this, here I am using the 'Lobster' font.
<link href='http://fonts.googleapis.com/css?family=Lobster'Note that the last element has been changed from > to />. this way your CSS will be parsed correctly and will not give errors.
rel='stylesheet' type='text/css'/>
6. Now go to Blogger > Design > Edit HTML tab. Search for </head> tag.
7. Paste the code from Google API above the </head> code.
8. This way you have inserted Google fonts in your blog. But still you have to define which portion of CSS uses the custom fonts.
This is done by defining styles for each element of the blog like header title, post title etc.
Here are the main CSS elements that you should know to define the fonts styling.
Blog Header Title #header h1 {font-family:FontName;}Change the Fontname to your desired font . Thus you have installed Google fonts in your blog.
Header description .description {font-family:FontName;}
Sidebar Title .sidebar h2 {font-family:FontName;}
Post Title .post h3 {font-family:FontName;}
Post Body Fonts .post {font-family:FontName;}
Footer Title #footer h2 {font-family:FontName;}
Whole Template body {font-family:FontName;}


No comments:
Post a Comment